While my editing process takes a little more than just these three tweaks, if I could only do THREE things to my RAW images, these would be my essentials for ensuring smooth skintones, bright clean photos, and nailing that airy dreamlike look while still retaining detail and clarity! (And.. make sure you scroll to the bottom to be linked to download my free presets!)
1) Increase the EXPOSURE
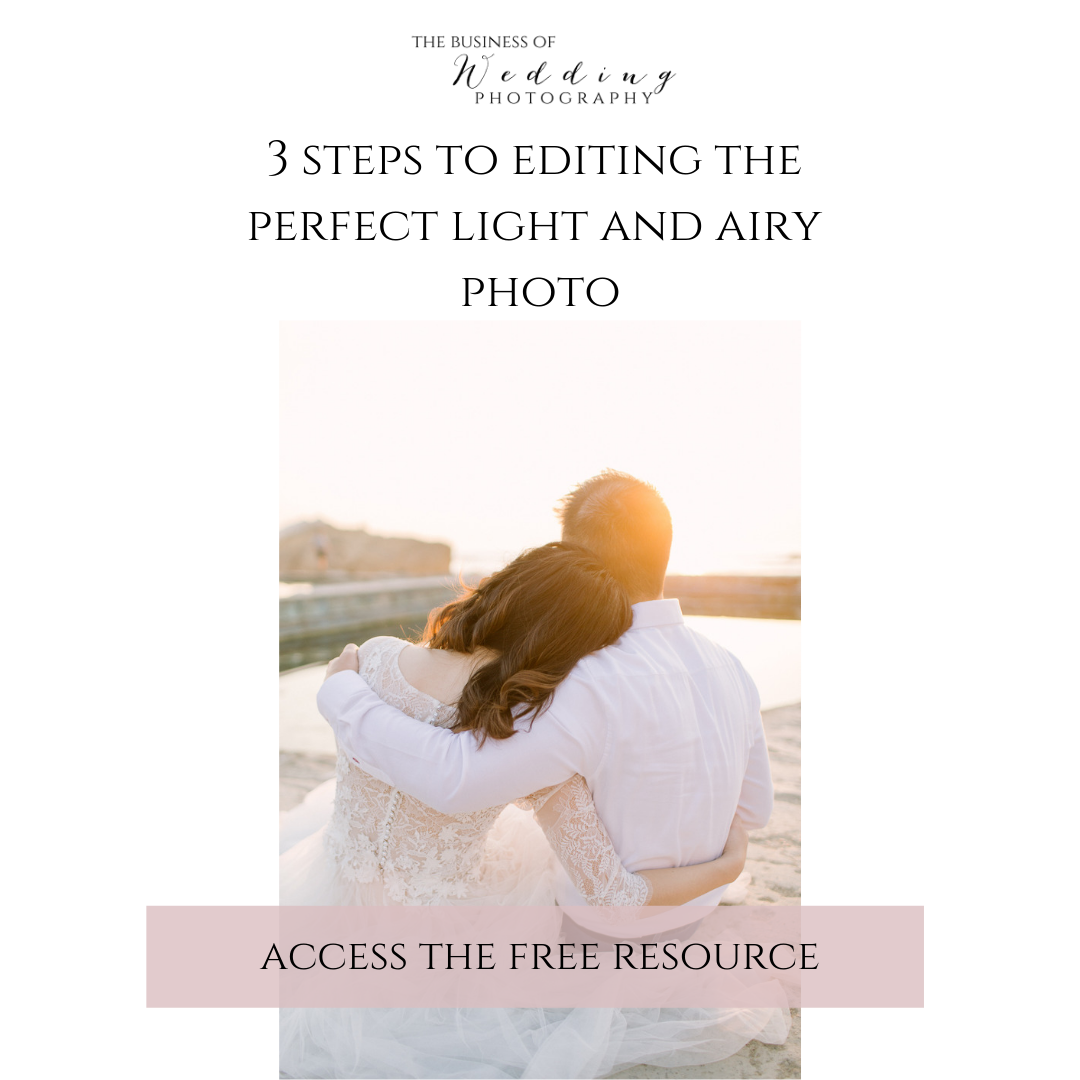
Pull the exposure of the photo up so it is just a liiiiitle past what actually looks right. You’ll recover these whites in step three. Its super important to not SHOOT photos this over exposed! Shooting too overexposed runs a fine line of losing all of the DETAIL in your photograph. That super intricate and incredible expensive white lace detailing on your brides gown can be lost forever to blown highlights and you won’t be able to recover that detail if you blew out the highlight and shot it too bright. You CAn , however, increase the exposure in post and then keep the details in that gown by going over the detail with a clarity brush or exposure brush! So it is always best to shoot a little darker than how you would like your final image to look.
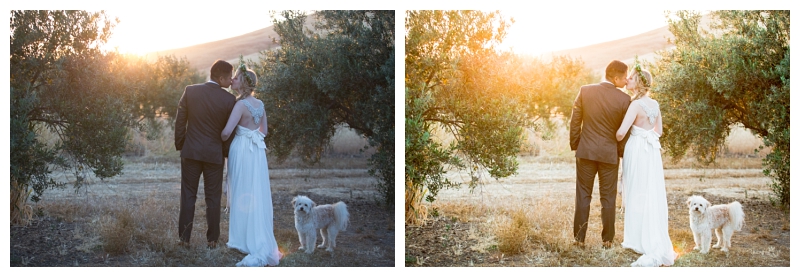
2) Lower the BLACK
Once you have increased your exposure, you will find that your images look a little flat. Part of this is due to the nature of RAW images being very low in contrast and flat, and the other part of this is due to the fact that you just increased the exposure which by default will lighten the blacks. I always bring the black tones back down to add in some natural clarity without making things too over-sharpened, and without having the muddy quality of decreasing the shadows instead. This is especially true for images should during golden hour and with sunflare.
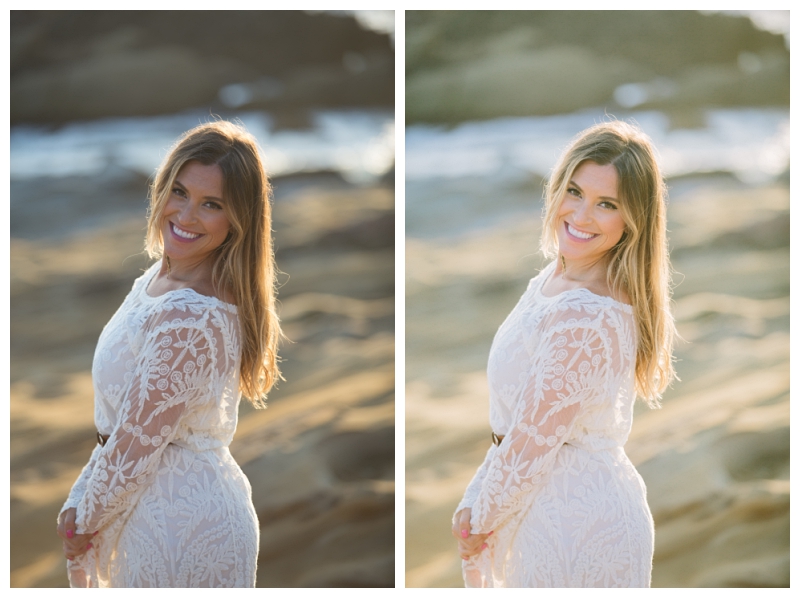
3) Lower the HIGHLIGHTS + WHITES
Since you brought the exposure of the image up, you will need to soften some of the highlights which now may appear too bright. I do this using a combination of lowering the highlights and the whites. It may seem counter productive to make an image brighter by exposure and then less bright by softening the highlights and whites, but this is exactly how I create that dreamy, creamy quality to the image without doing any facial retouching.
There you have it- my magic triangle for creating a bright and airy look with creamy skin tones while maintaining detail! There’s a few other steps in my own editing process, but if you want to skip the hard part and save some time I highly recommend using my LIGHTROOM PRESETS for your editing workflow!
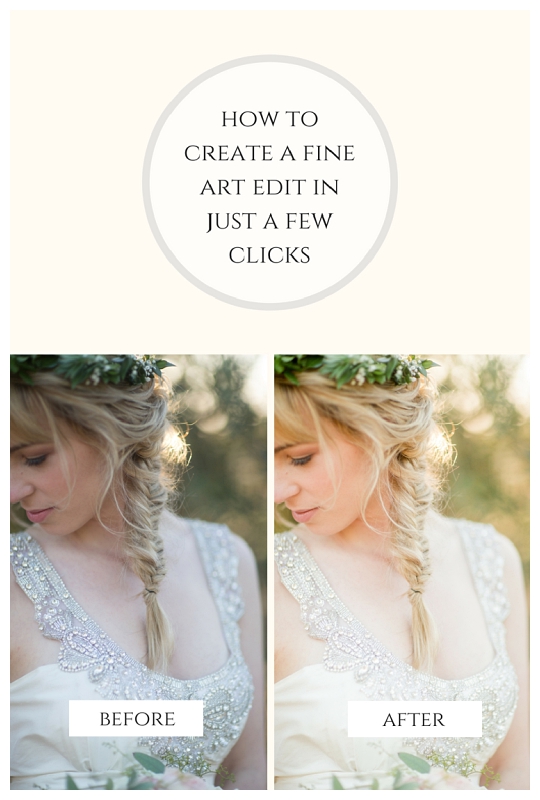
Want to save some time and nail your edits? My LR presets will help you to save time in editing and get you a beautiful, bright and dreamy, natural fine art look in just a few clicks! I even have a few available for FREE!

No Comments